How to choose and edit a template?
Mar 4 2020

AdSigner email signature templates are the simplest way to create a neat, modern and professional email signature. The templates are designed by top designers, who are experts in the psychology of business communication. The selected template allows you to quickly create a unified digital identity for all employees, which is aligned with the company’s corporate identity.
Let’s take a look at how to choose and customize an email signature template in the AdSigner web service.
ProTip: To find out more about template editing, see the How to Choose and Edit Templates video tutorial.
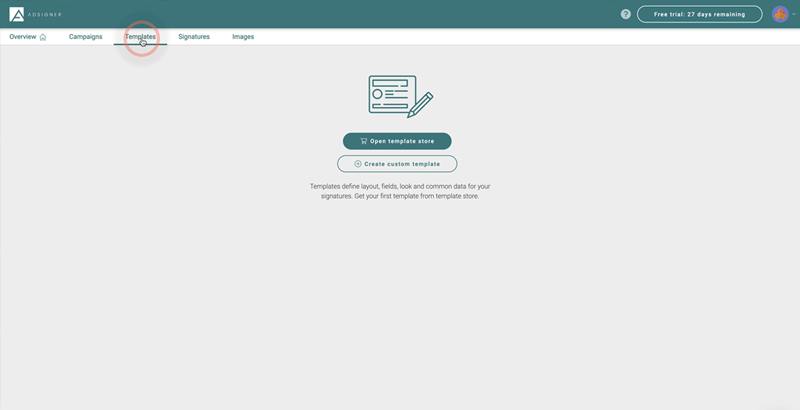
Step 1
Select Templates from the menu bar.
Step 2:
Click on the shopping cart icon to enter the Template store, where you can choose from the pre-designed templates. If you are familiar with the HTML coding, you can select Create custom template and design your email signature by yourself.
Step 3:
In the Template store, select the template that works best for you and download it by clicking the Get free template button. You can choose from a wide variety of templates with different forms, arrangements and types of personal information. You can choose from the following templates:
- Elegant – no social icons
- Essentials – no avatar images
- Powerbrand – 1 to 4 extra images
- Smart – 1 to 4 extra images with different designs
- Twin – a logo and avatar side by side
- Onxy – business elegance in black
- Fresh – more space for longer names
- Clean – compact but clean
- Clear – exposure of a personal name and title
- Network – an extra webpage line

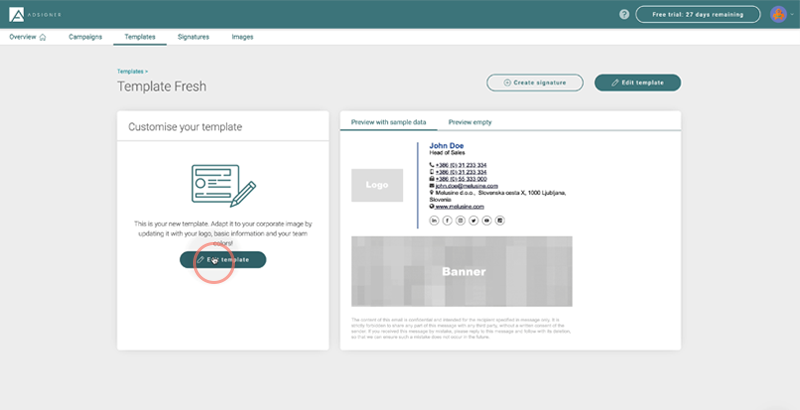
Step 4:
Start editing templates by clicking the Edit template button.
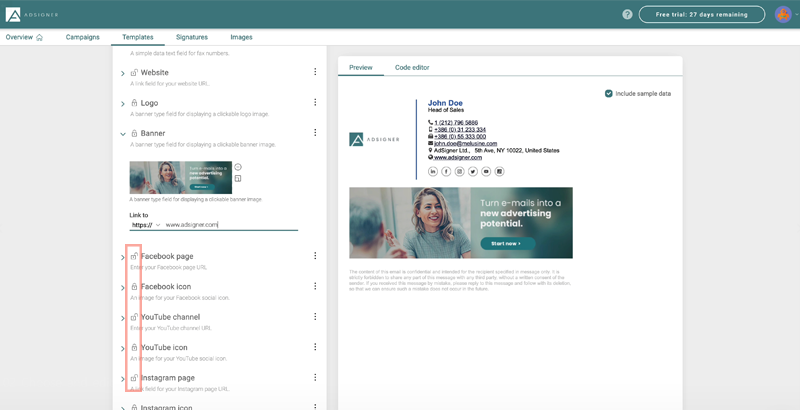
On the left side, you can find information that can be edited in the template. On the right side, you can track any changes you have made. For the ease of the final signature form visualisation, the blank fields are pre-filled with sample data, which can be switched on or off with the Include sample data function.
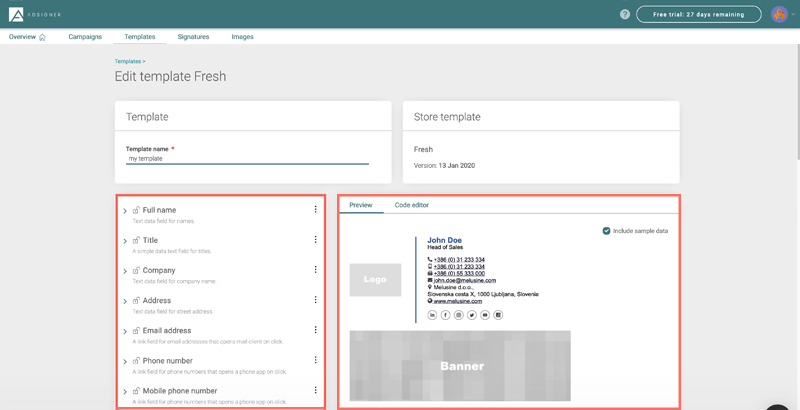
You can customize the font colour, size and type in each template, add and format images, and enter company information common to all users of a specific template.
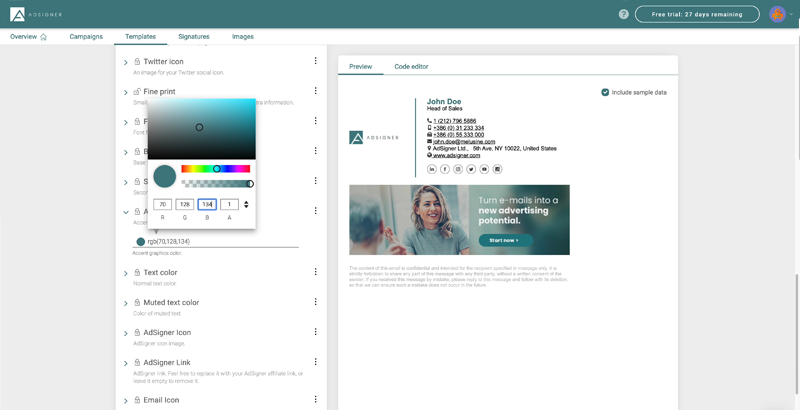
ProTip: Read more about advanced colour and font editing tools in the AdSigner Unveils Powerful Customization and Signature Templates blog
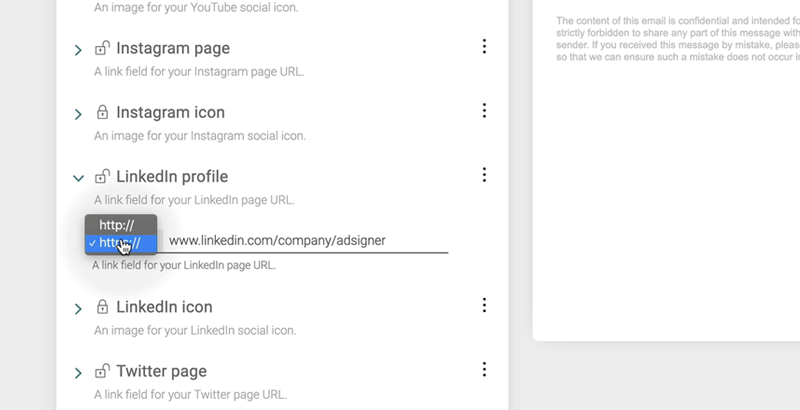
The URL format data will automatically be copied as a link to the landing page of the same name. All links can be edited in the Link to field that follows the data. Be sure to select the appropriate http:// or https:// protocol before the URL.
ProTip: In the blog The benefits of clickable banners, read why adding URLs is important and what benefits they bring.
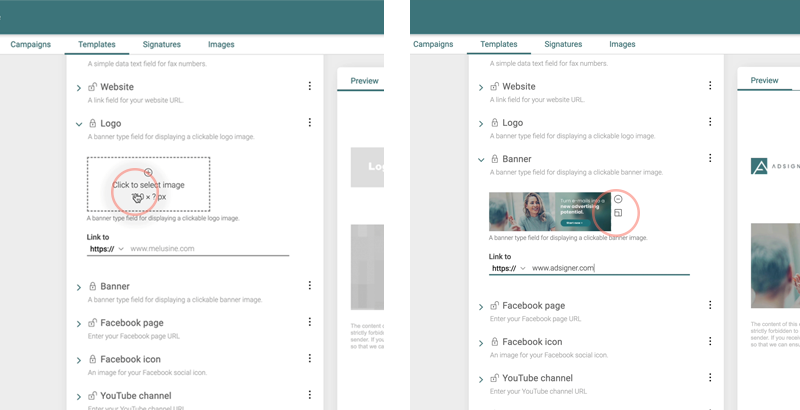
To add a banner, avatar and logo image, click the + symbol. The image can be selected from the gallery of items you have previously uploaded to the Images tab, or a new one can be uploaded directly from your computer. Once you have selected and confirmed an image, an icon will appear next to allow editing its size and shape, adding filters etc.
ProTip: To learn more about the image editing tool, see the How to Use Image Editor tutorial.
The lock icon next to each entry box allows you to lock any information in the template. This prevents the email signature users from changing the locked information. Users can enter their personal information in the unlocked fields by themselves after they have been invited to use the signature. The fields that are left blank and locked in the template will be neither displayed nor available for editing in the final signature.
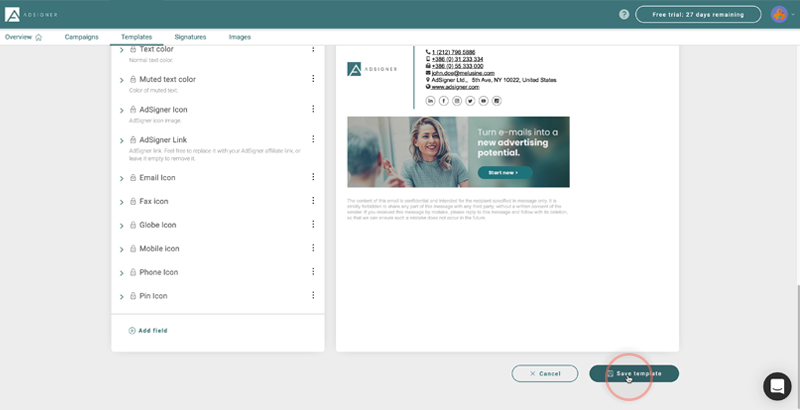
You can stop editing at any time and save your work by clicking the Save template button. An edited template will wait in the Templates section, along with any others you have downloaded from the Templates store.
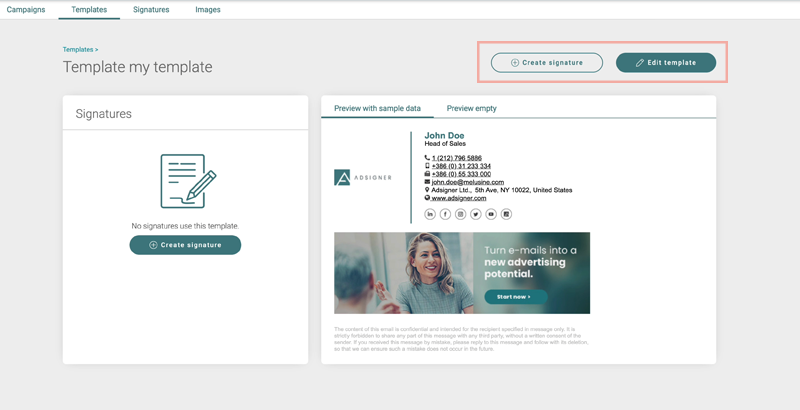
Step 5:
To continue editing, click the three dots in the corner of each template tab and select Edit. You can also click anywhere on the template tab and continue by clicking on the Edit template button.
The edited template is ready for use in signatures. Invite employees to use it by clicking the Create signature button.
ProTip: To continue editing specific signatures, see the How to Create a Single Signature tutorial or How to Create Multiple Signatures when multiple users work with the same template.

