Set up a signature in Apple Mail
To set up your signature to your email client, follow the instructions below.
Do not make any changes of a signature after pasting it in your email, as the predesigned form of the template might collapse. Update it in the AdSigner and set it up again in the email client.
1st method: Preview layout copy-paste
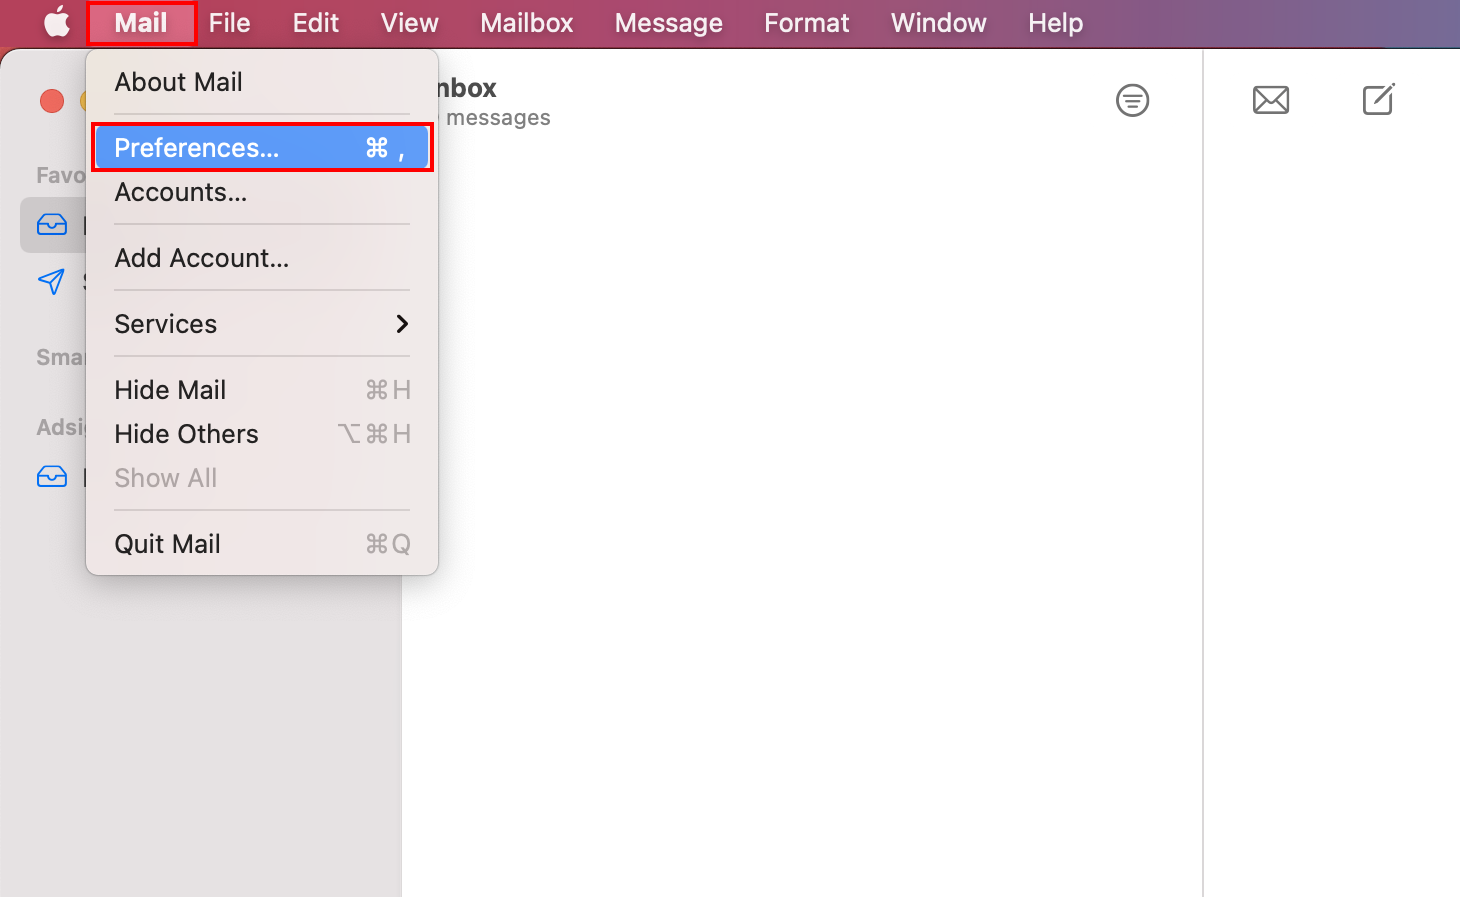
- Open Apple’s Mail app.
- Choose Mail in the main menu > Select Preferences in the drop-down menu.
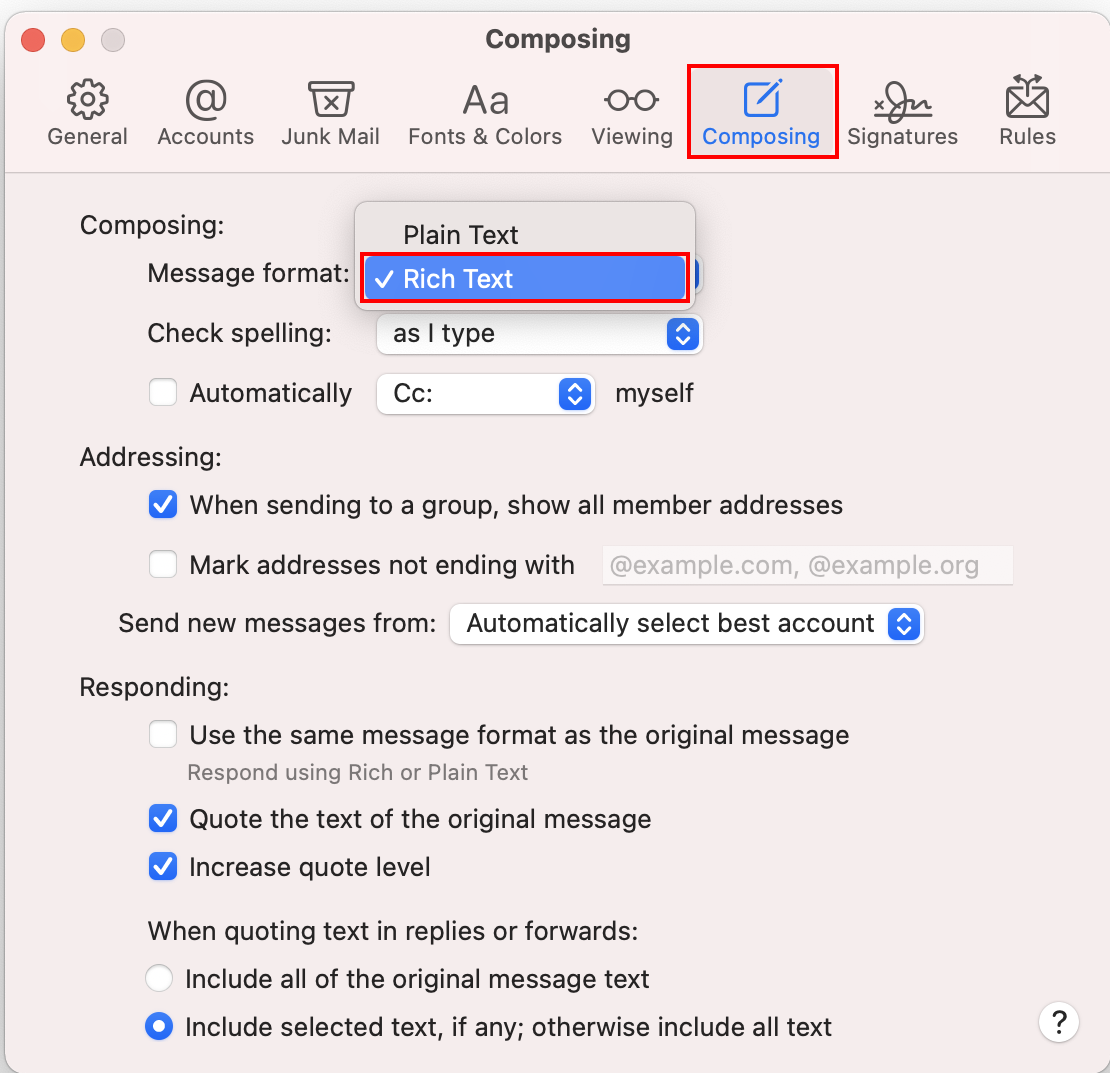
- Navigate to the Composing label > Under the message format, choose Rich text.
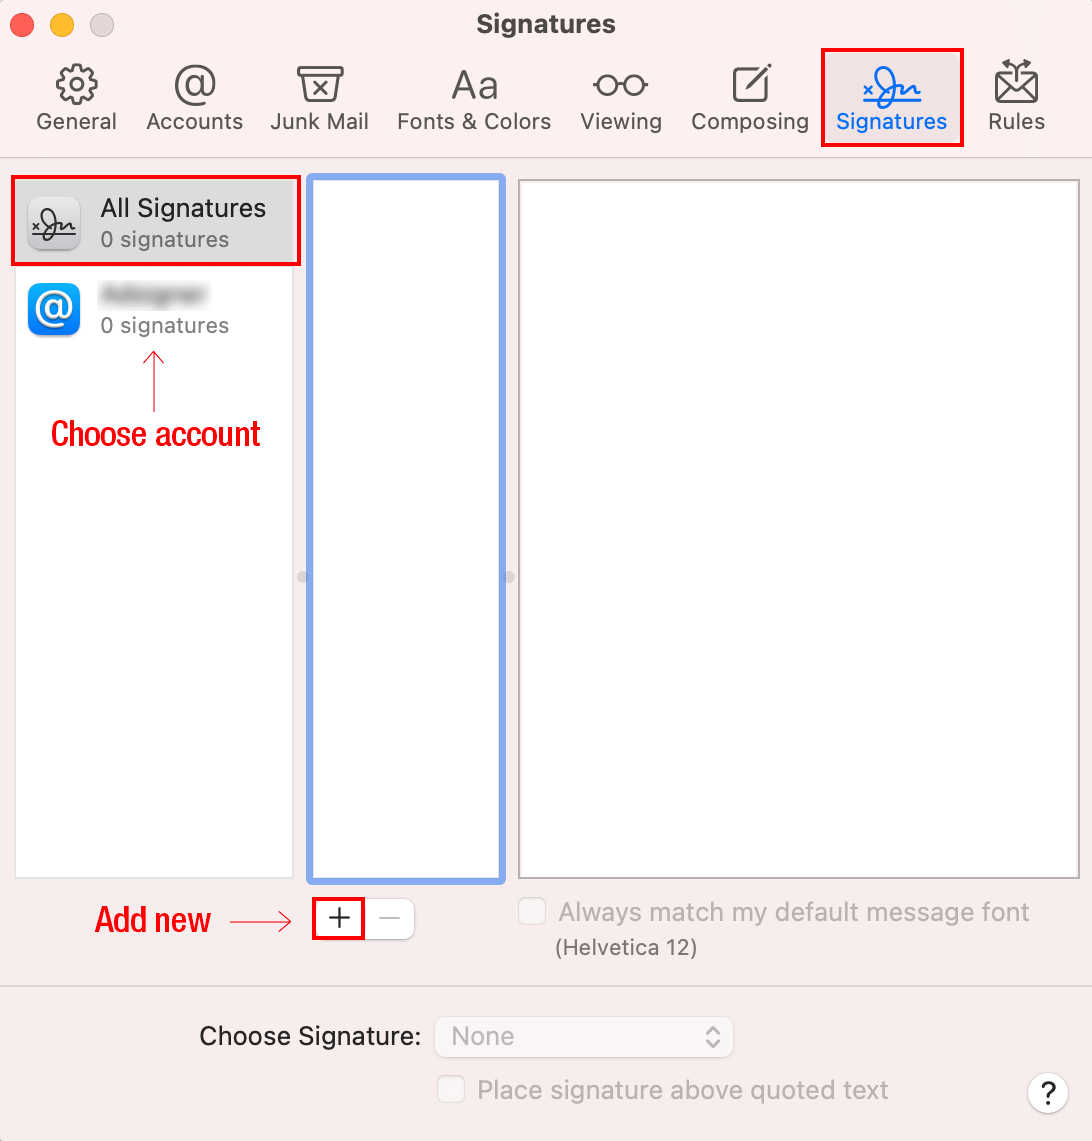
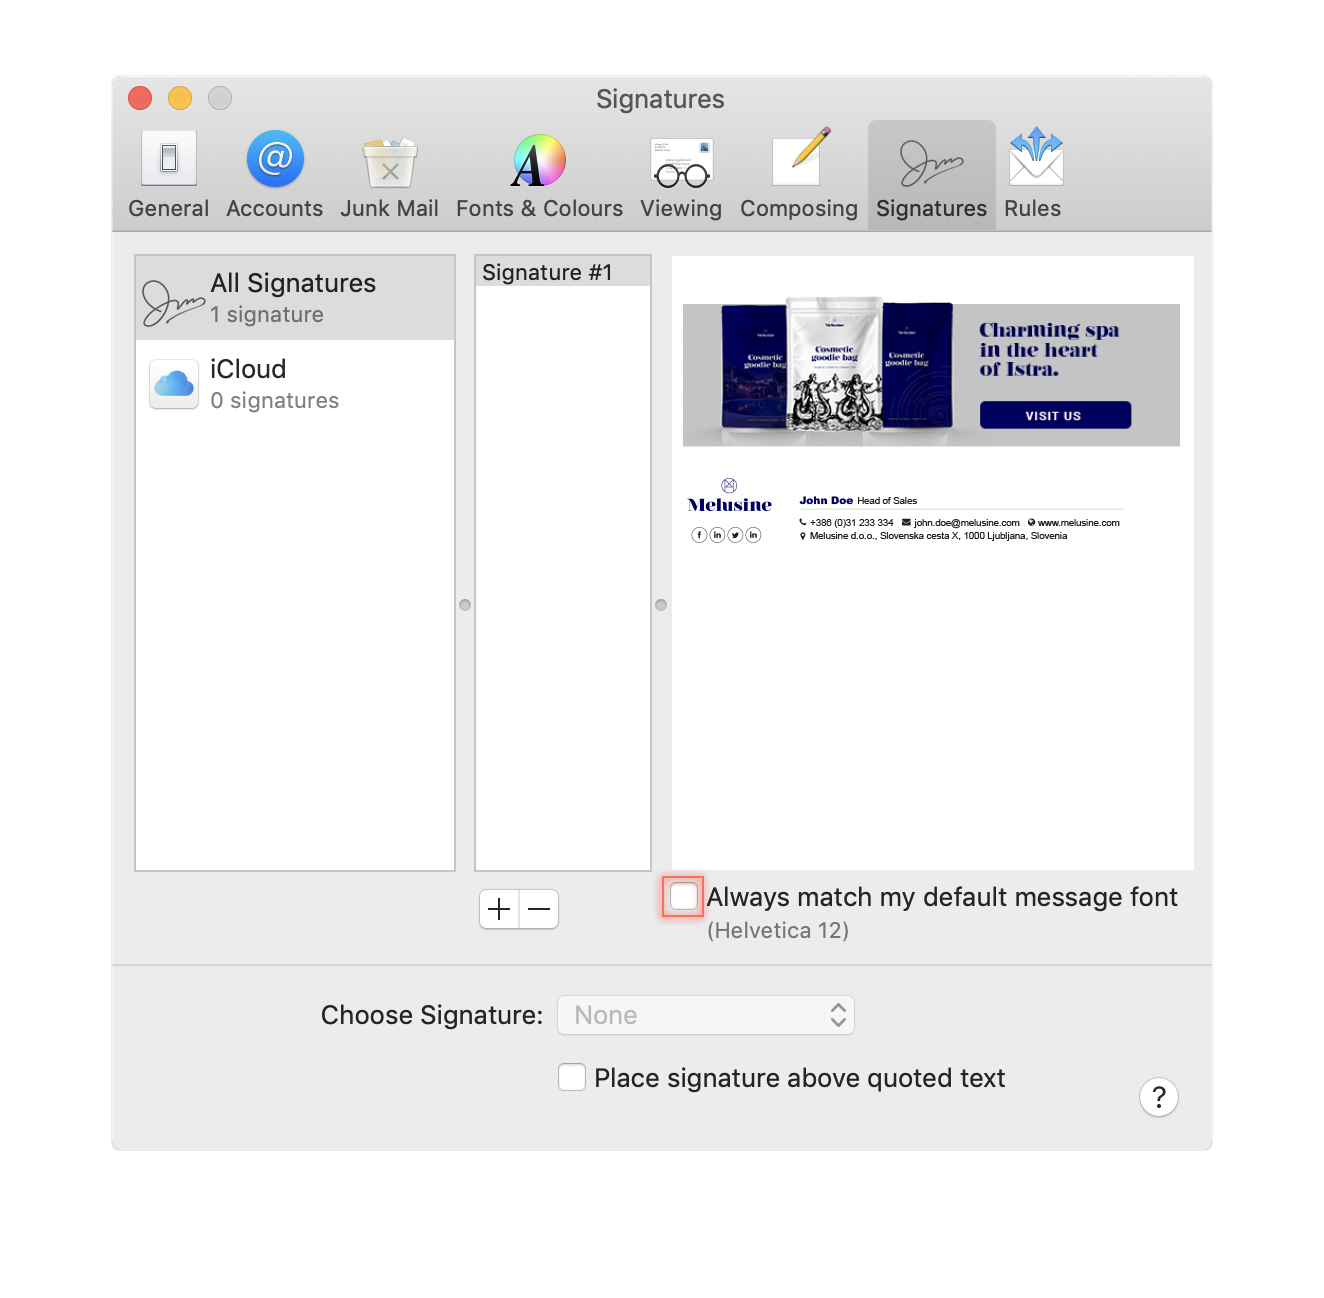
- Then, move to the Signatures label > Choose All signatures, if you want the signature to be available to all accounts, or select a specific one > Click + button to add a new signature and name it.
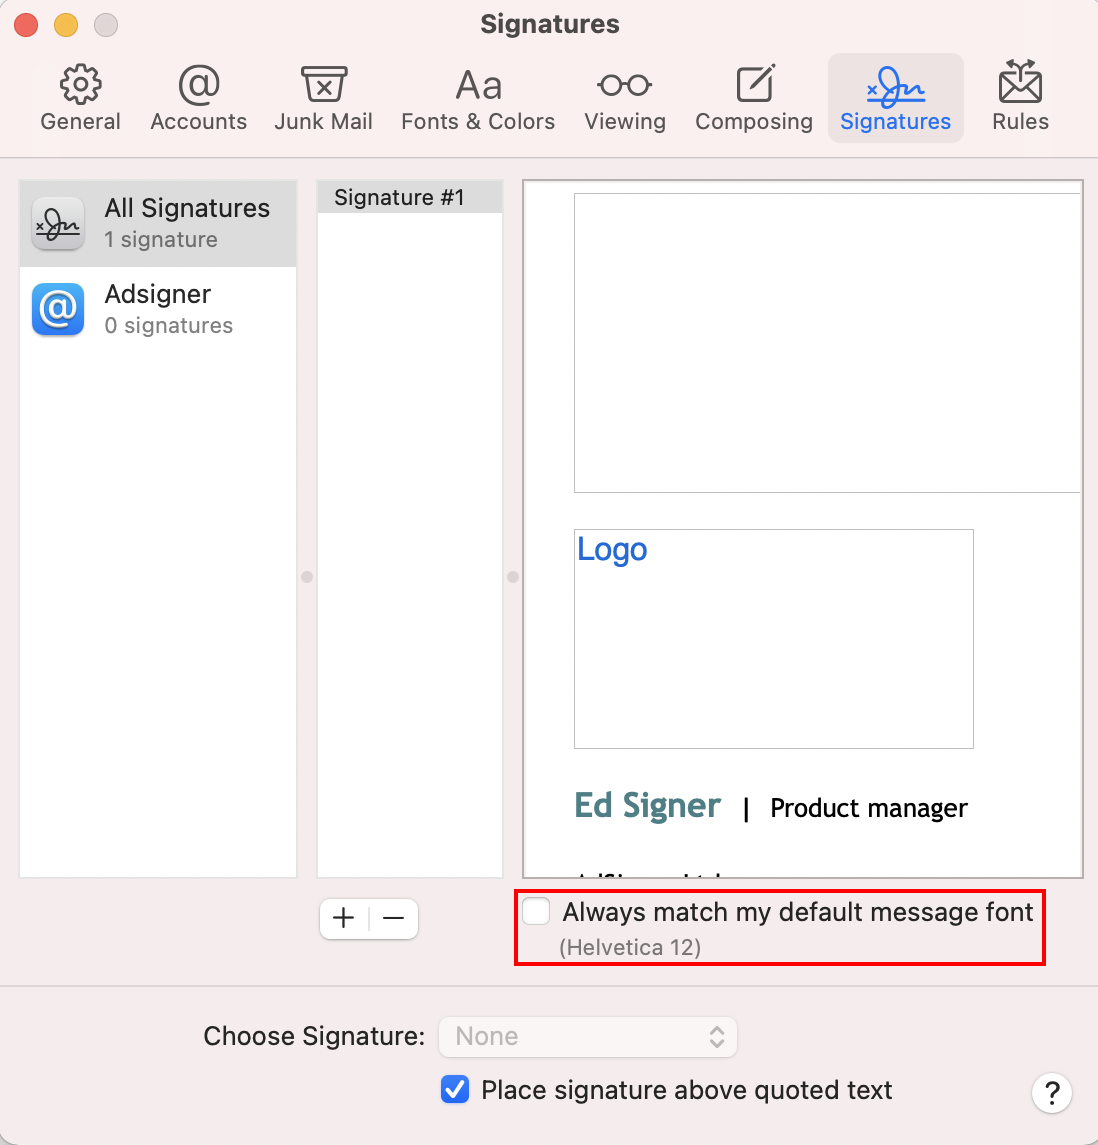
- Make sure that the Always match my default message font box is unchecked.
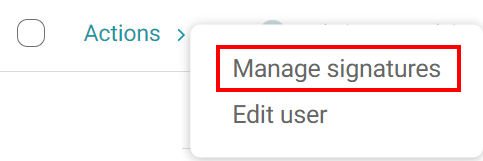
- Go to AdSigner > Users > Click Actions of the user, whose signature you would like to use > Click Manage Signatures.
- Under the Info tab, click the signature you would like to use, then press
 .
.
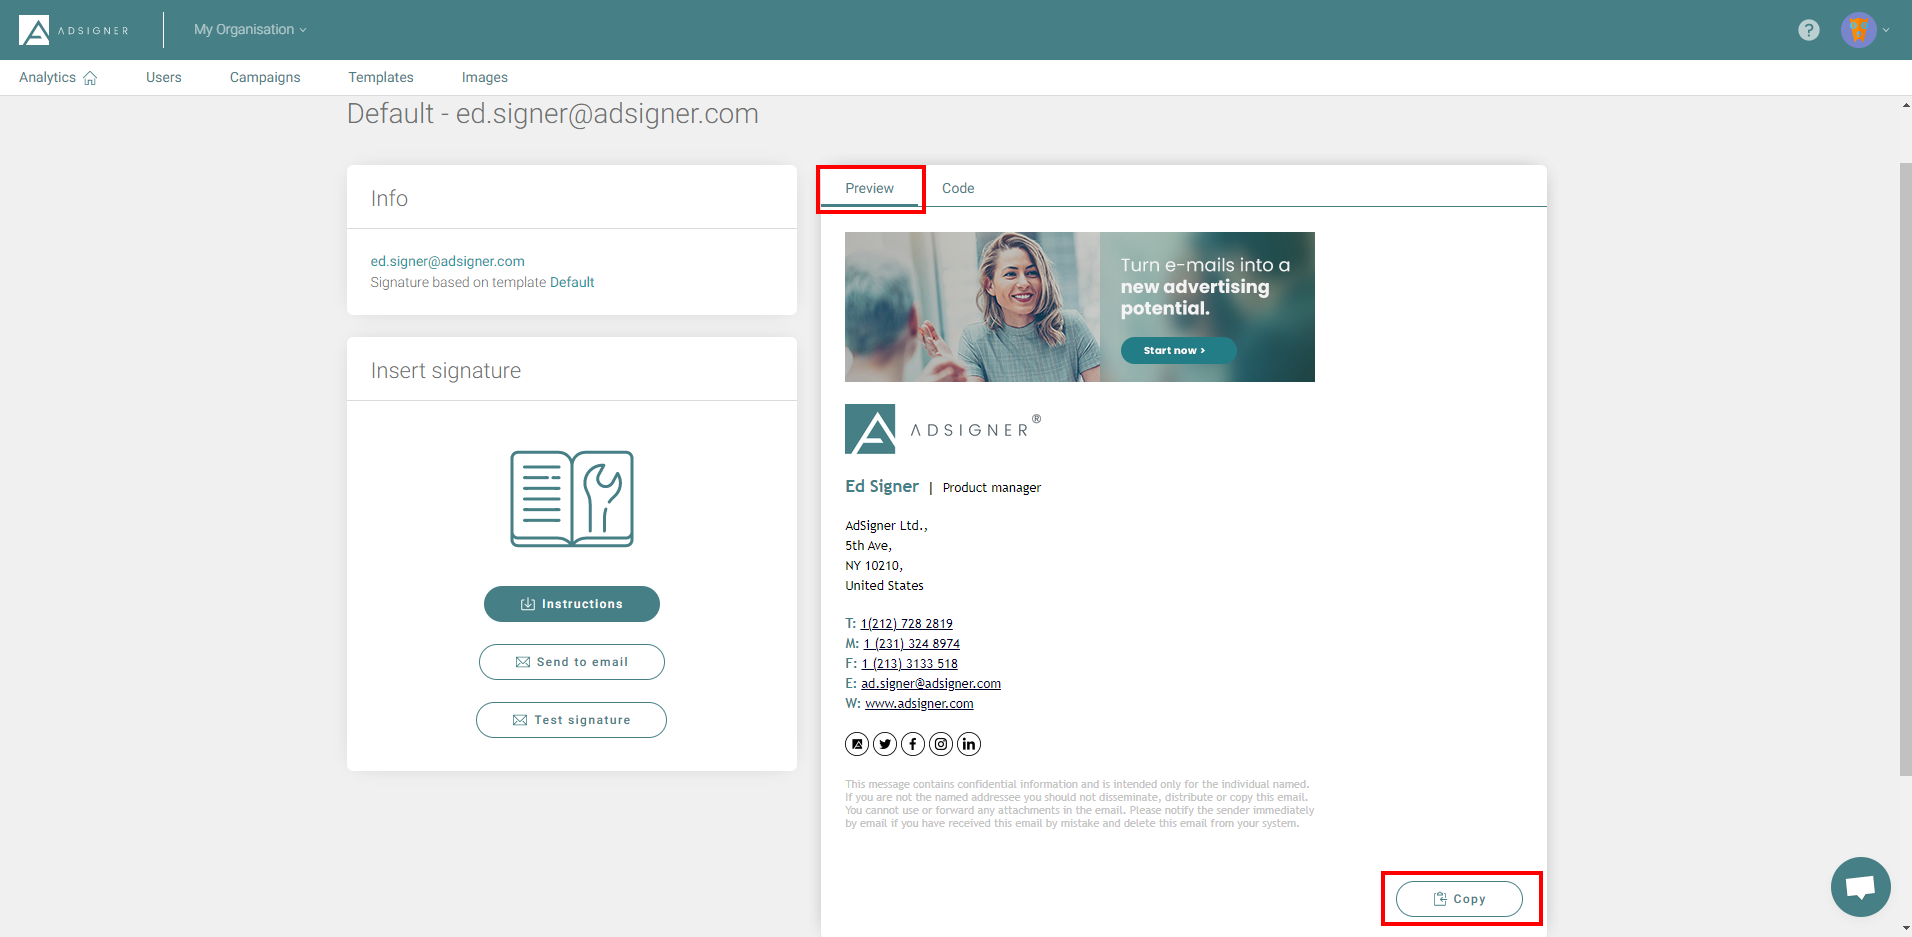
- Go back to Apple Mail > Paste the signature into the signature box. The signature in the preview may seem disrupted, however, it should look completely fine when you start composing a new email. > Close the signature settings window.
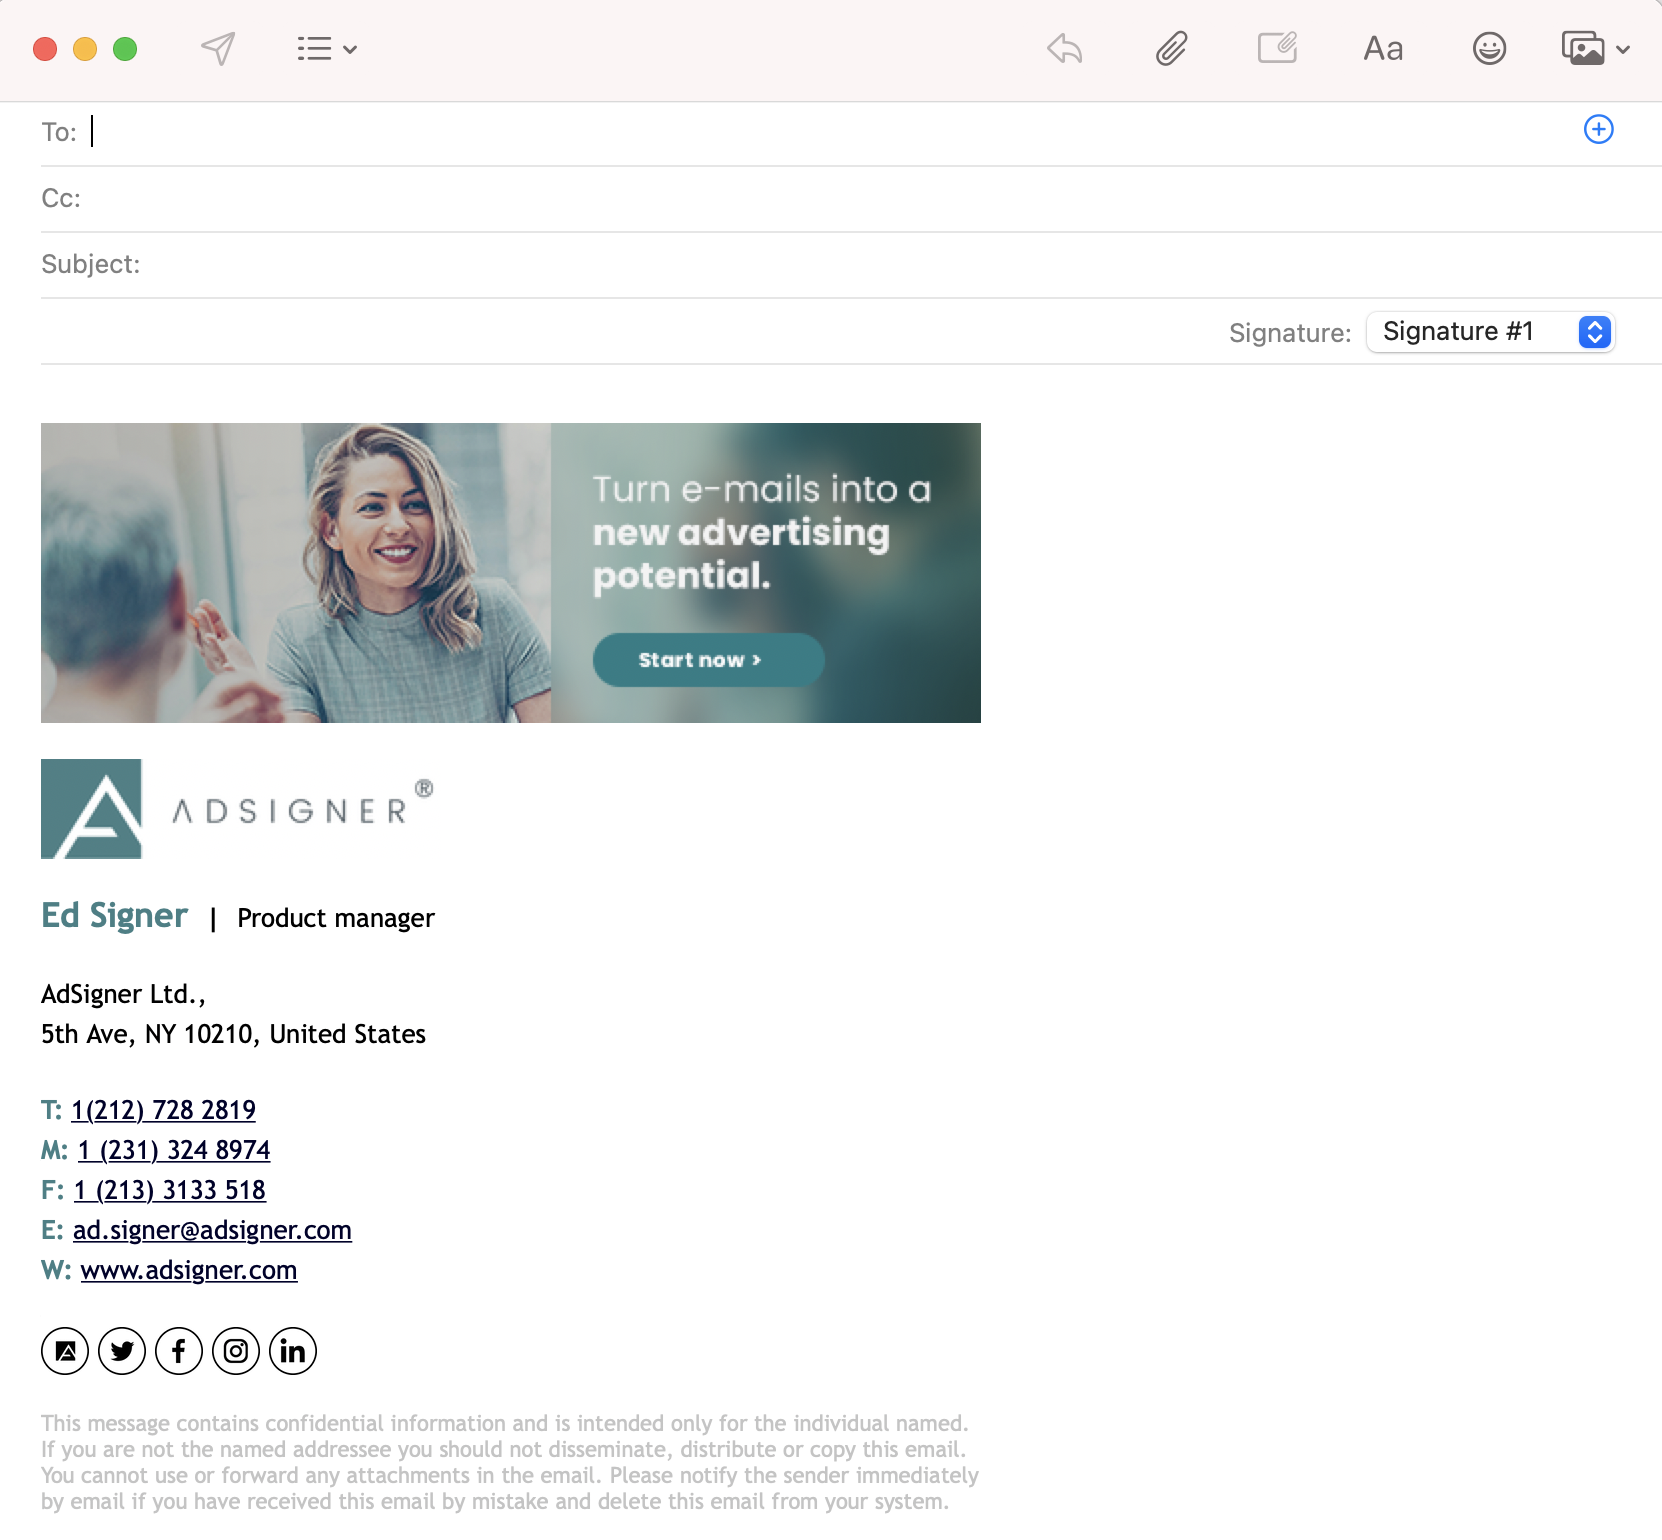
- Create a new email (File > New message) and select your new signature from the Signature drop-down menu.
2nd method: HTML code copy-paste
- Open Apple’s Mail app.
- Choose Mail option in the main menu. > Select Preferences in the drop-down menu.
- Navigate to the Composing label > Under the message format, choose Rich text.
- Then, move to the Signatures label > Choose All signatures, if you want the signature to be available to all accounts, or select a specific one > Click + button to add a new signature and name it.
- Make sure, that the Always match my default message font box is unchecked.
- Drag the signature from the second column to the email account you would like it to be available to, if you have multiple accounts.
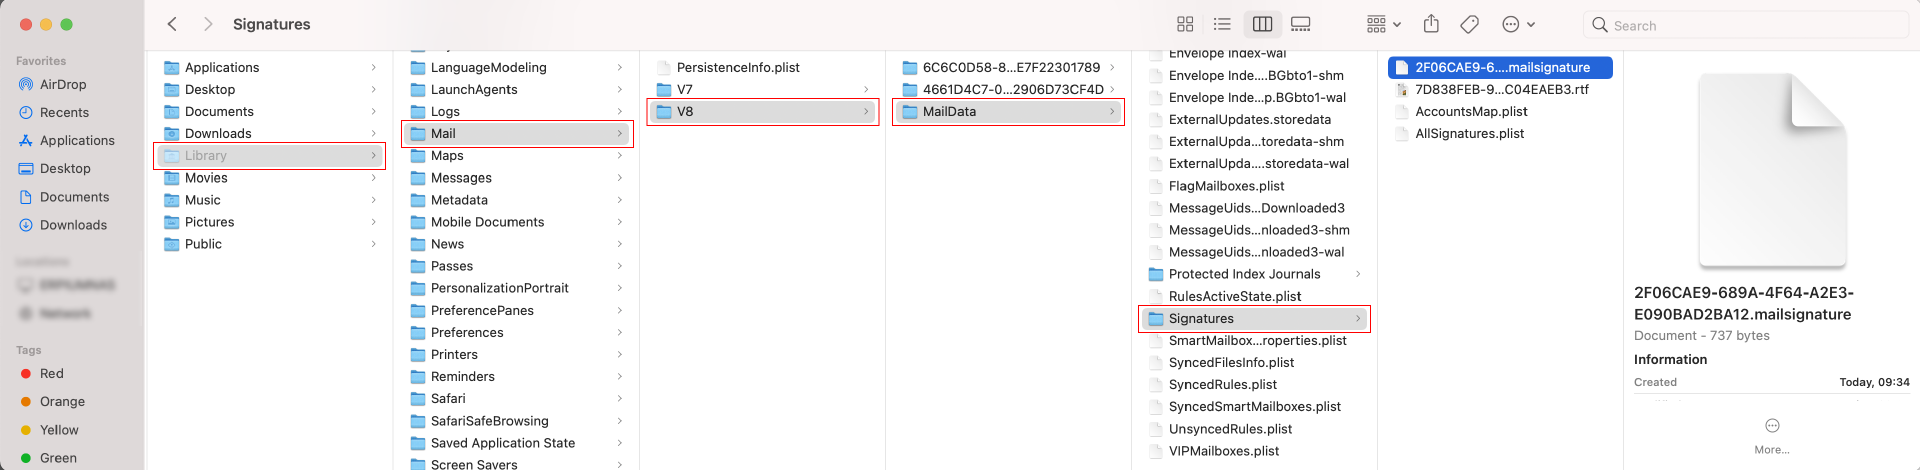
- Open Signatures folder on your Mac. The quickest way of doing this is to go to your Finder and in the top menu bar click Go > Go to Folder and enter ~/Library/Mail/. Now, you might see a few folders here. Select the latest V folder, and then the MailData folder.
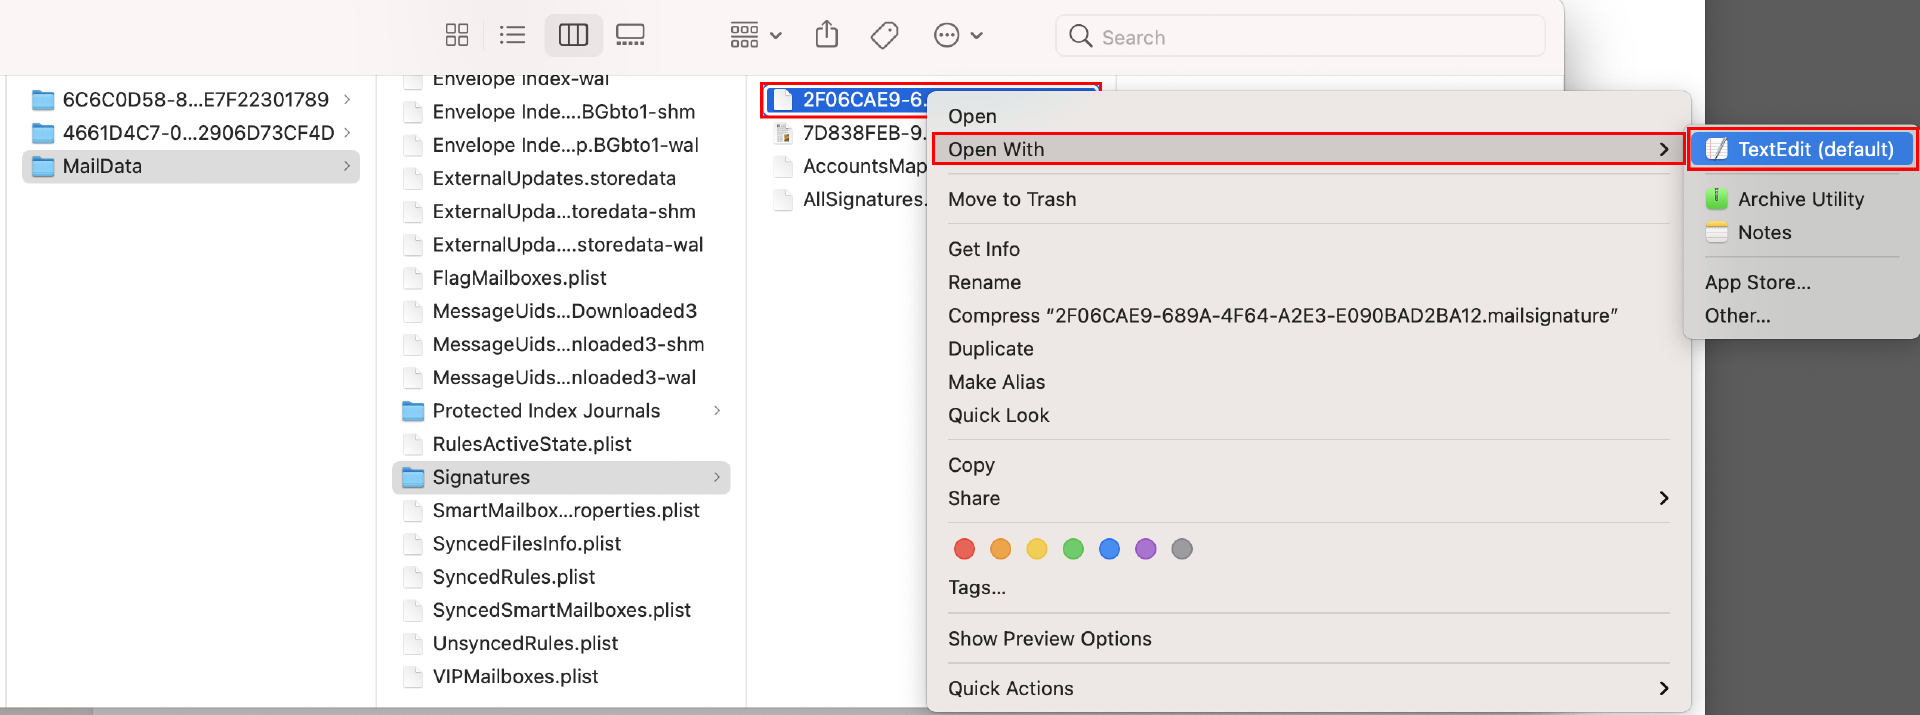
- In the Signatures folder, locate the newest file that ends .mailsignature, having a load of letters and numbers as the file name. Right-click on the signature file and choose Open With >TextEdit. (Note: If the opened file shows formatted text only and no HTML code, then you must enable “Display HTML files as HTML code instead of formatted text” in the TextEdit preferences.)
- Delete all text starting from “
<body”.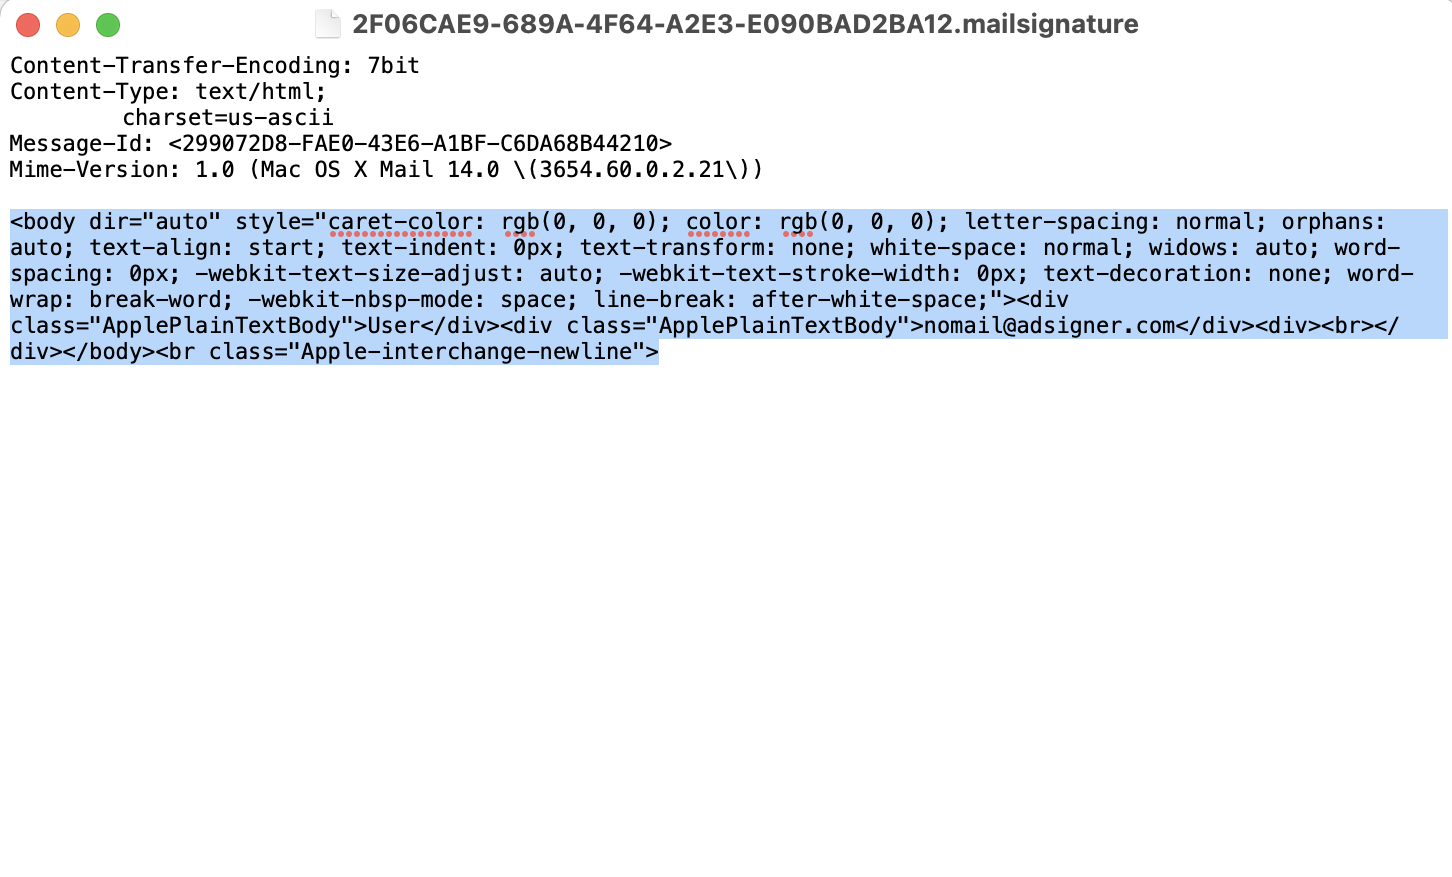
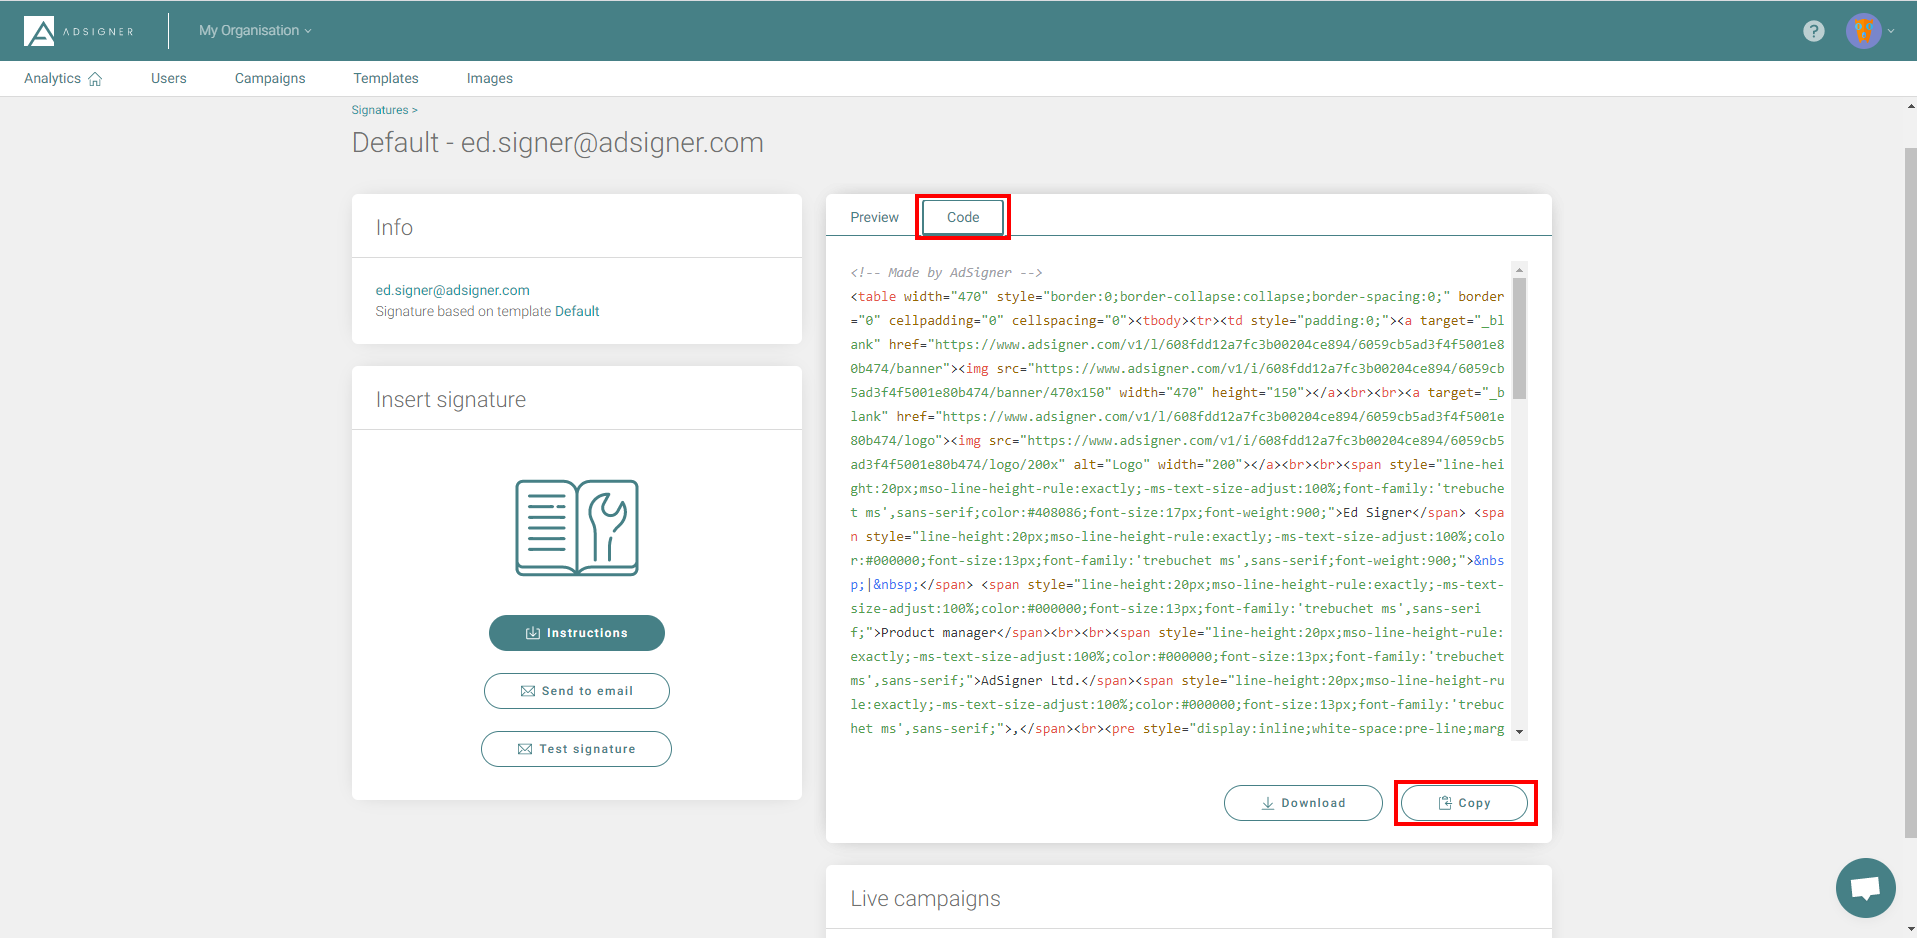
- Go to AdSigner > Users > Click Actions of the user, whose signature you would like to use > Click Manage Signatures.
- Under the Info tab, click the signature you would like to use, then press
under the Code tab.
- Go back to the .mailsignature file you have opened in step 8 and paste the HTML text into the position where you deleted the code. If you get prompted with “The file is locked” when pasting, simply click the Unlock button > Save the file using Command + S.
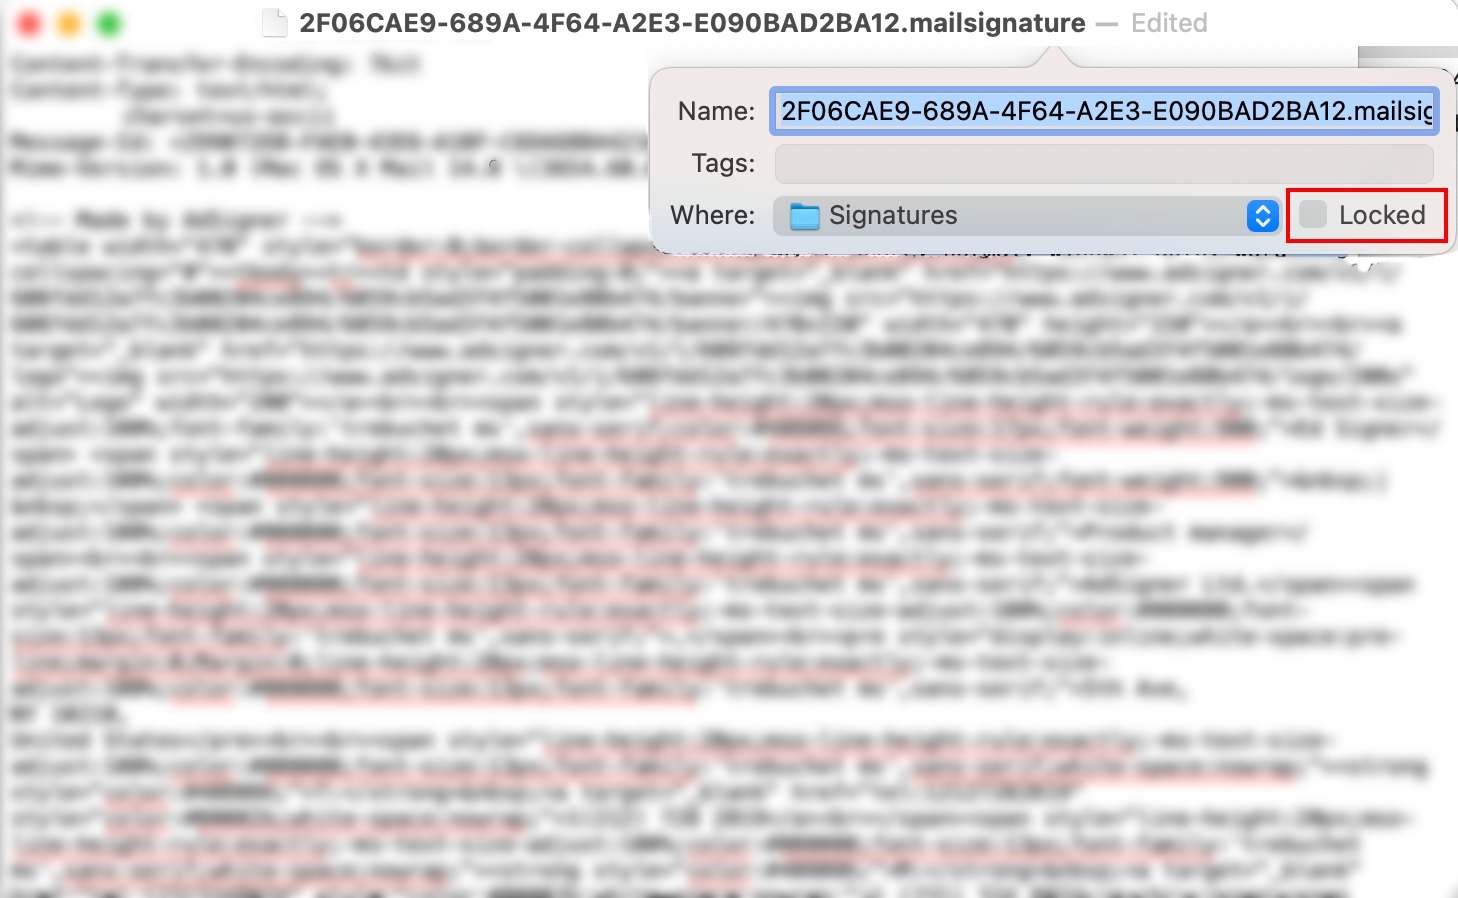
- Lock the file by clicking the file title in the top document bar and check the Locked checkbox.
- Close the signature settings window.
- Create a new email (File > New message) and select your new signature from the Signature drop-down menu.
Related content
- Getting started
- Navigate Signatures panel
- Create signature
- Manage signature
- Create multiple signatures
- Set up a signature in Gmail
- Set up a signature in Outlook
- Set up a signature in Outlook on Android
- Set up a signature in Thunderbird
- Set up a signature in Windows Mail
- Set up a signature in Other email client

